Wednesday, December 12, 2012

Furniture Facelift

If you remember way back to the summer, I was working on a little DIY project - painting my kitchen table and chairs - which took much longer than I anticipated.  But I guess that's the way DIY projects usually go, right?  I'm finally getting around to sharing my process in case you want to give some of your furniture a facelift, too!  I got most of my information from this Young House Love tutorial, as well as some tips from a guy who works at the Sherwin Williams store and from my dad.

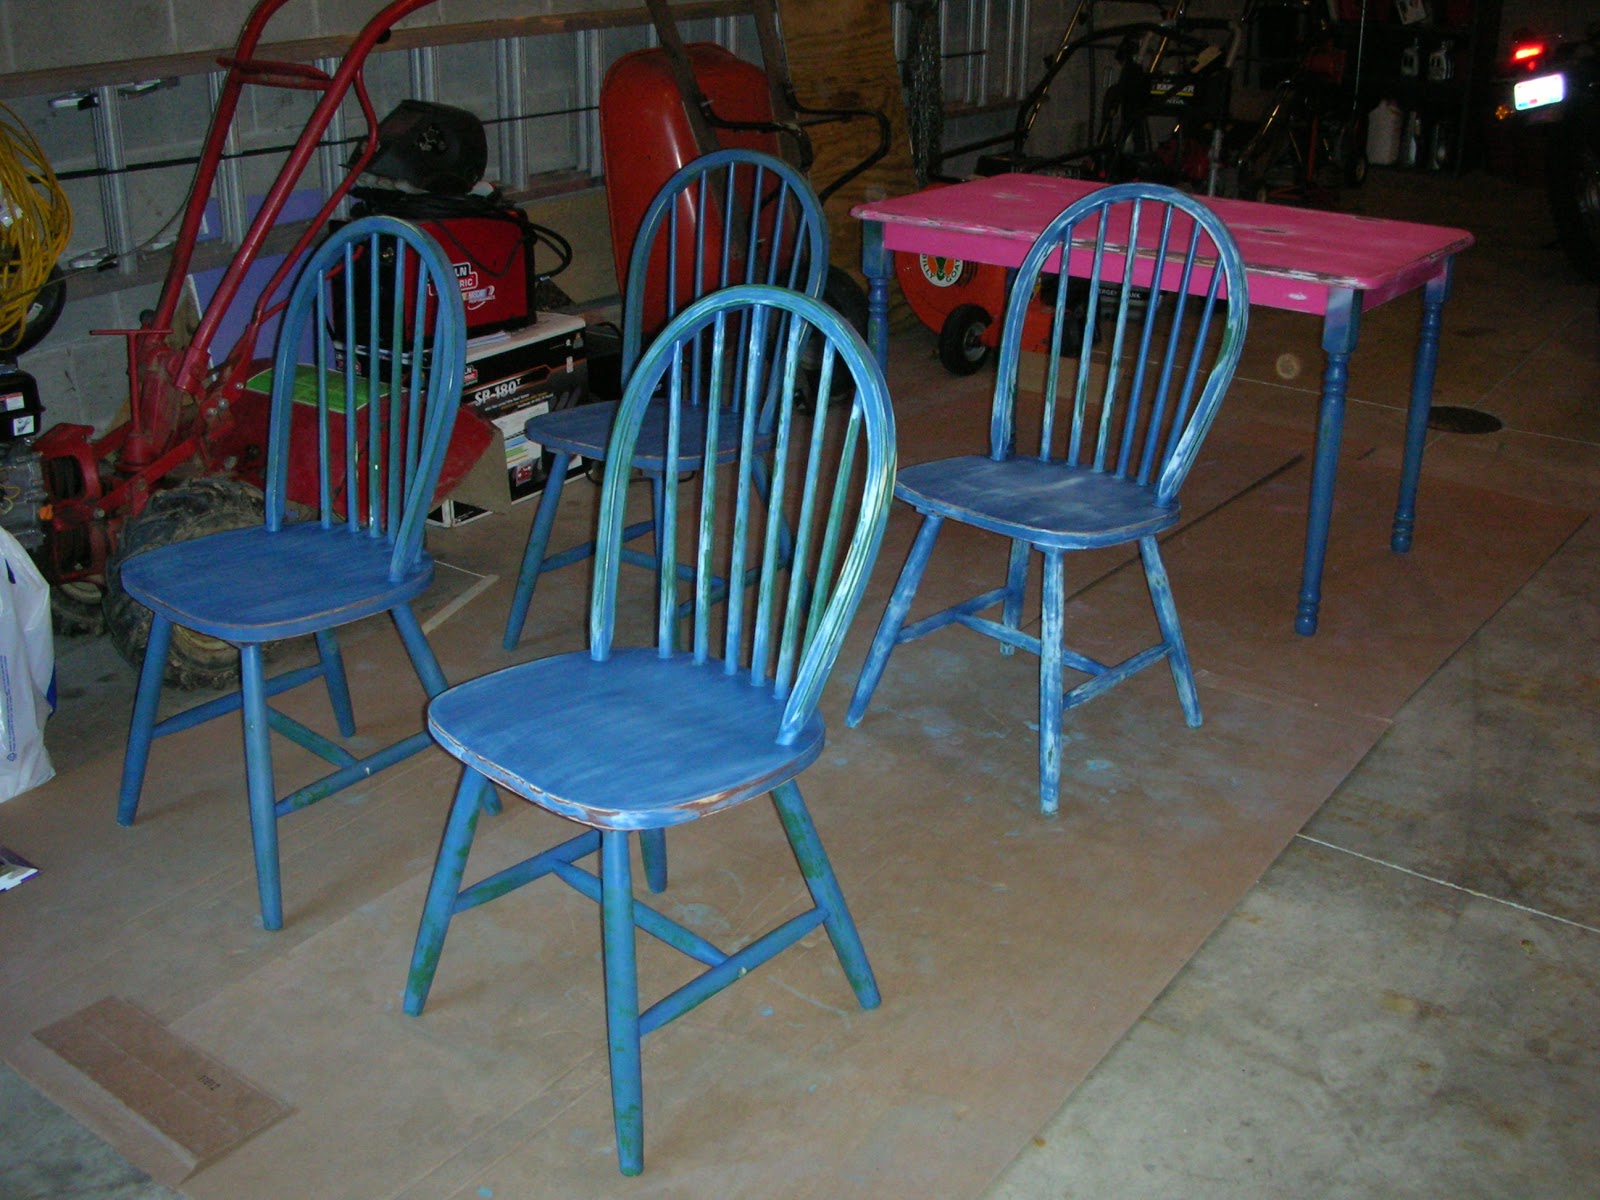
I started with a table and chairs which my best friend generously gave me when I moved into my apartment.  They were originally dark green, and my friend had spray-painted them blue and pink.


My first step was cleaning the table and chairs very well, using this trisodium phosphate, mixed with water according to the directions on the box.  I made sure to wear rubber gloves while using this because it is very strong.


The next step was sanding everything down.  I used this 100 grit sandpaper.  I opted not to use a sanding block because I was going to have to get into a lot of small areas, like the spindles on the backs of the chairs.


Per my dad's suggestion, I cut one sheet into 3 equal lengths.


And then folded each piece into thirds.  This made the sandpaper easy to manage, and when one side was worn down, I could quickly switch it to a fresh side.


After I was finished sanding, I sucked up some of the dust with a shop vac.  Then I used a tack cloth to wipe down the chairs and table really well.  The tack cloth is slightly sticky (so it feels kind of gross to hold it) but it works really well to get the surface as smooth and clean as possible before starting to paint.  You can see that the tack cloth in the plastic is completely white, and the used tack cloth on the right is full of paint that came off from the sanding.


Next:  finally time to get some paint on there!  Well, kind of - primer first.  The Sherwin Williams guy tinted the primer to a gray color.  I used an oil-based primer.


I almost completely forgot to take pictures of the chairs and table after I primed everything - I remembered just before I painted the top of the table black.  The top of the table is what it looked like after a coat of primer, and the table legs have primer and one coat of black paint on them.  


After everything was primed, it was time for the first coat of paint.  I also forgot to take a picture of the black paint I used, but it was a black latex paint with a semi-gloss finish from Sherwin Williams.  I used a paint brush on the chairs and the legs of the table (the one pictured above with the primer), and a foam roller on the top of the table.


After my first coat of black paint, I sanded down some spots which were a little rough and uneven.  It was difficult to paint around the spindles of the chairs, so this area needed extra sanding.  (Which also meant more vacuuming and wiping down with the tack cloth - phew.)  In hindsight, I should have gotten a smaller brush to paint these areas.


Then it was time for the second coat of black paint, and some additional touch-ups after that.


When I was satisfied with the black paint, and after everything dried really well, it was time to put a protective finish on everything.  Per the guy from Sherwin Williams, I put on one thin coat of finish, then I lightly sanded it with very fine grit sandpaper, wiped it down with a tack cloth again, and then put a second (and final!) protective coat on.


FINALLY finished.


It took a lot longer than I was expecting.  Thank goodness for the NPR app on my phone and lots of entertaining podcasts like Weekends on All Things Considered, Car Talk, and Wait Wait... Don't Tell Me!  I think my dad got a kick out of seeing me spend so much time in the garage listening to Car Talk - I'm finally following in his footsteps :)  Kind of.

My final step was hammering some plastic floor protectors into the bottom of each chair (I drilled pilot holes into the legs first so that they'd go in straight and the wood wouldn't split).  I previously used felt floor protectors, but they didn't look very nice and tended to move and/or fall off.  I'm happy with the plastic floor protectors.


I think the time was worth it, though - I love the results!  And it's satisfying to see my table and chairs every day and know that my hard work paid off.  I have to say, it's made me think about what other DIY projects I can take on to give some other things in my apartment a little facelift.  I've got my eye on a VERY outdated brass lamp at the moment.

Song of the day:

Since it's December, I think I'm going to share some of my favorite Christmas/ holiday songs.  This one is actually not much of a song, but it's a classic.  "Santa Claus and His Old Lady" by the inimitable Cheech and Chong.  Enjoy!  "Once upon a time about, mmm, 5 years ago..."


Saturday, December 1, 2012

Continuing the Tour

Well this is the longest apartment "tour" ever.  I shared pictures of my kitchen and my living room in previous posts, and now I'm finally getting around to sharing some pictures of the rest of my apartment.

When you first walk into my apartment, you see my living room on the right.


Straight ahead, you see my coat closet.  One of the things I love most about my apartment is all of the storage!  Having a coat closet is pretty luxurious, in my opinion.


To the left, there's a door into another closet - this one is a walk-in!  Talk about luxurious.  There's also a door into my bedroom from this closet.


If you continue down the entry hall, my bedroom door is on the left, and the bathroom door is on the right.  Also, straight ahead you'll see one of my favorite gifts ever - it's a picture my best friend took at a concert we went to together which she had framed for me.  I absolutely love it.


That's the door to my bathroom.


Here's the bathroom.


It was actually the first room in my apartment that I decorated - it seemed a lot more manageable and less daunting than the other rooms because it was much smaller.


I bought 10 picture frames from a dollar store and had some pictures printed out in black and white to put in the frames.  I love this because it was very cheap, and it's also easy to switch around if I want to.  I can swap out the pictures easily, and I just have them leaning on that ledge, so they're easy to move around, too.


That ledge goes all the way around my bathroom, so I continued the frames around the room.  I have one black and white print from Etsy among my own photographs.  I got the mat and frame from Hobby Lobby, so that was very affordable, too.


The photos I chose are a mix of places I've visited and concerts I've been to, so they all have a special meaning to me and are fun to look at throughout the day.


Leaving the bathroom, you'll see my linen closet in the hall.  I absolutely love having a linen closest to hold towels, sheets, some cleaning supplies, and extra toiletries.  I'm spoiled with all of this storage!


Past the linen closet, you can see my front door.  The doorknob in the right of this picture leads into that walk-in closet I showed above.


There's nothing very exciting about the decor in my bedroom, so I'll just highlight a few things in there.  This is the door from my bedroom into the walk-in closet.


And here's my other bedroom closet.  I told you - spoiled with storage!  It's nice, but at the same time I know I've accumulated a TON of stuff since I moved into this apartment - out of sight, out of mind, right?


This is the view from my bedroom window.  I love it!  I could have cut the curtain rod down a little bit, but since I don't spend a ton of time in my bedroom, I didn't worry about it.  It looks pretty silly in this picture, though!


One of my favorite things that I've done in my bedroom is my jewelry storage system.  (I know, I'm a dork.) I have an earring holder, a jewelry box, and I hung a tie rack to store my necklaces.


I used to keep all of my necklaces in my jewelry box, but it was so hard to see them all and I just ended up wearing the same things over and over again.  This way I can easily see all of them and quickly pick out what I want to wear.  It also prevents them from getting tangled!  The tie rack was about $10 at Wal-Mart, but I did recently see an idea for making your own necklace holder using wood trim and upholstery tacks, which I think would look nicer.  One day I'll try that out!


I love my earring holder for the same reason - I can easily see all of my options at once and pick out what I want to wear.  My parents got that earring holder for me as a present a few years ago, but it could be a fun DIY project, as well.  And now it's a lot easier to find other things like rings, bracelets, and watches in my jewelry box since I don't have earrings or necklaces in there!


The dresser that my jewelry box and earring holder are sitting on was actually left here by the previous tenant.  It's missing two drawers, but the previous tenant had the clever idea of painting the wood where the drawers should be and using that space as a shoe storage area.  Works for me!


Well there you have it - the rest of my apartment tour, with some cheap decorating tips and storage solutions thrown in.

I've got 2 finals in the coming week, and then I'll be finished with this semester.  Only one semester left to go - I can't hardly believe it.  It's scary and exciting at the same time.  I can't believe it's already December!  Along with my studying, I need to get my Christmas decorations up ASAP :)

Song of the day:

"Trouble Ahead" by Little Hurricane.  This entire album, Homewrecker, is really great.